
Spring Framework 快速开始
Spring Framework 快速开始
IntelliJ IDEA 提供的专用项目向导,您能够快速创建Spring应用程序,这也是创建Spring应用程序的最佳方式之一。
参考🚀 :Jetbrains 创建第一个Spring应用程序
在本教程中,您将学习如何公开HTTP端点并将其映射到一个方法,当用户通过Web浏览器访问时,该方法会向用户返回问候信息。
创建 Spring Boot项目
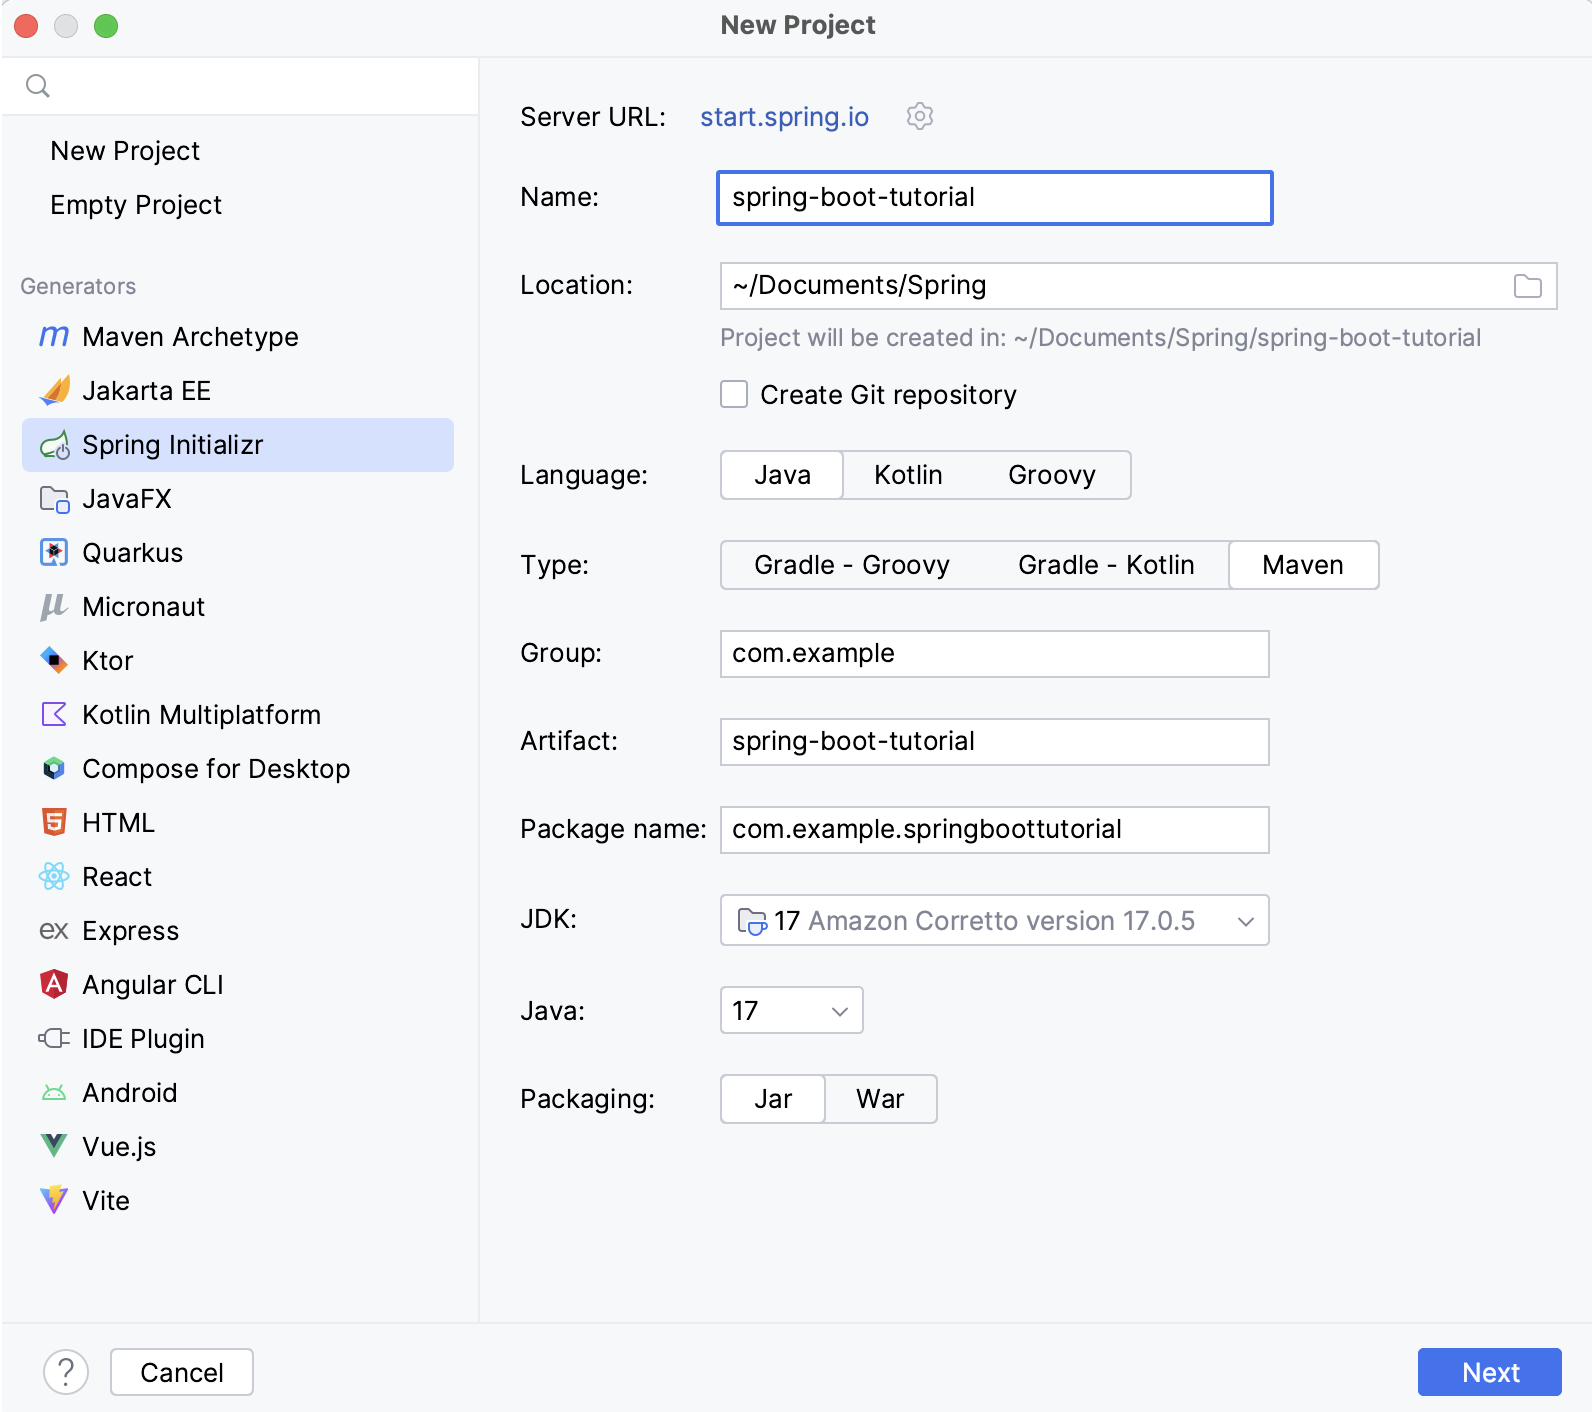
- 在主菜单中,转到 文件(File) | 新建(New) | 项目(Project)
- 在 新建项目(New Project) 对话框中,选择
Spring Initializr - 指定项目的名称 spring-boot-tutorial,单击 下一步(Next) 继续
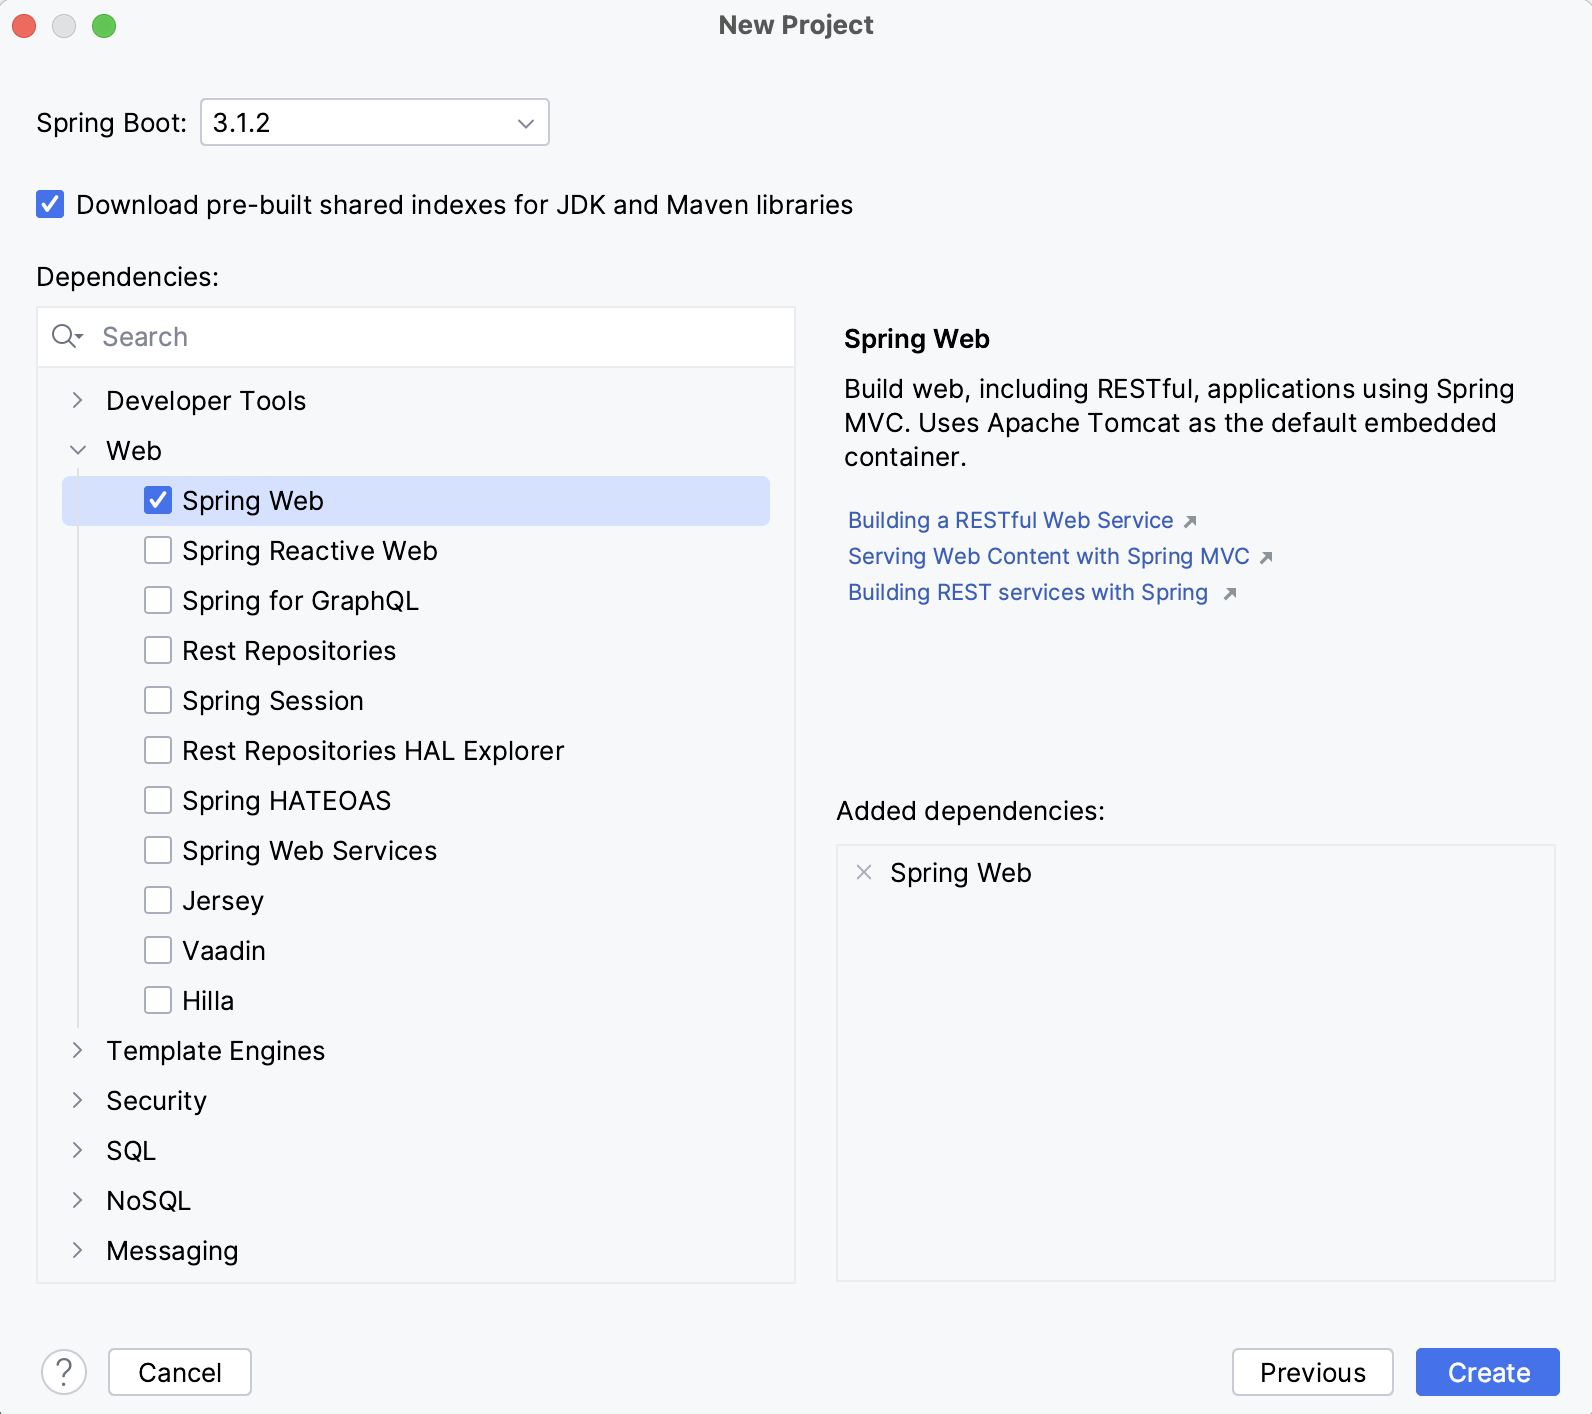
- 在Web组下选择Spring Web依赖项,然后单击 创建(Create) 生成并设置项目
添加 sayHello() 方法
Spring Initializr 会创建一个带有 main() 方法的类来启动你的 Spring 应用程序。
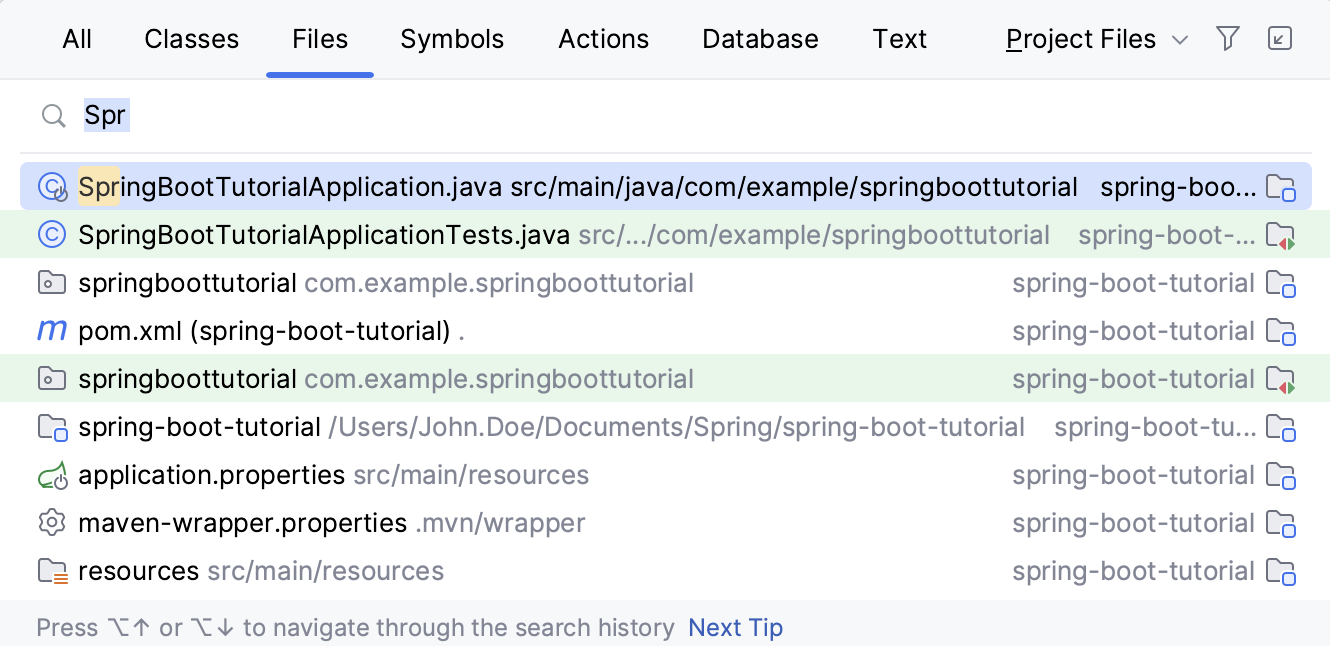
- 转到 "导航(Navigate) | 文件(File )",搜索
SpringBootTutorialApplication.java文件并打开
- 添加
sayHello()方法,并包含所有必要的注解和导入:
package com.example.springboottutorial;

import org.springframework.boot.SpringApplication;
import org.springframework.boot.autoconfigure.SpringBootApplication;
import org.springframework.web.bind.annotation.GetMapping;
import org.springframework.web.bind.annotation.RequestParam;
import org.springframework.web.bind.annotation.RestController;

@SpringBootApplication
@RestController
public class SpringBootTutorialApplication {

   public static void main(String[] args) {
       SpringApplication.run(SpringBootTutorialApplication.class, args);
   }

   @GetMapping("/hello")
   public String sayHello(@RequestParam(value = "myName", defaultValue = "World") String name) {
       return String.format("Hello %s!", name);
   }

}
sayHello()方法接受一个名字参数,并返回与参数值组合的Hello单词。其余的工作由添加Spring注解来处理:
@RestController注解将SpringBootTutorialApplication类标记为请求处理程序(REST控制器)。@GetMapping("/hello")注解将sayHello()方法映射到GET请求的/hello路径。 *@RequestParam注解将名字方法参数映射到myNameWeb请求参数。如果您在Web请求中未提供myName参数,则默认为World。
运行Spring应用程序
IntelliJ IDEA 创建了一个 Spring Boot 运行配置,您可以使用它来运行新 Spring 应用程序。
- 如果选择了运行配置,请按
ShiftF10键。 - 还可以点击
SpringBootTutorialApplication.java文件main()方法旁边的▶️图标运行。
默认情况下,IntelliJ IDEA 会在运行工具窗口中显示你正在运行的 Spring Boot 应用程序。
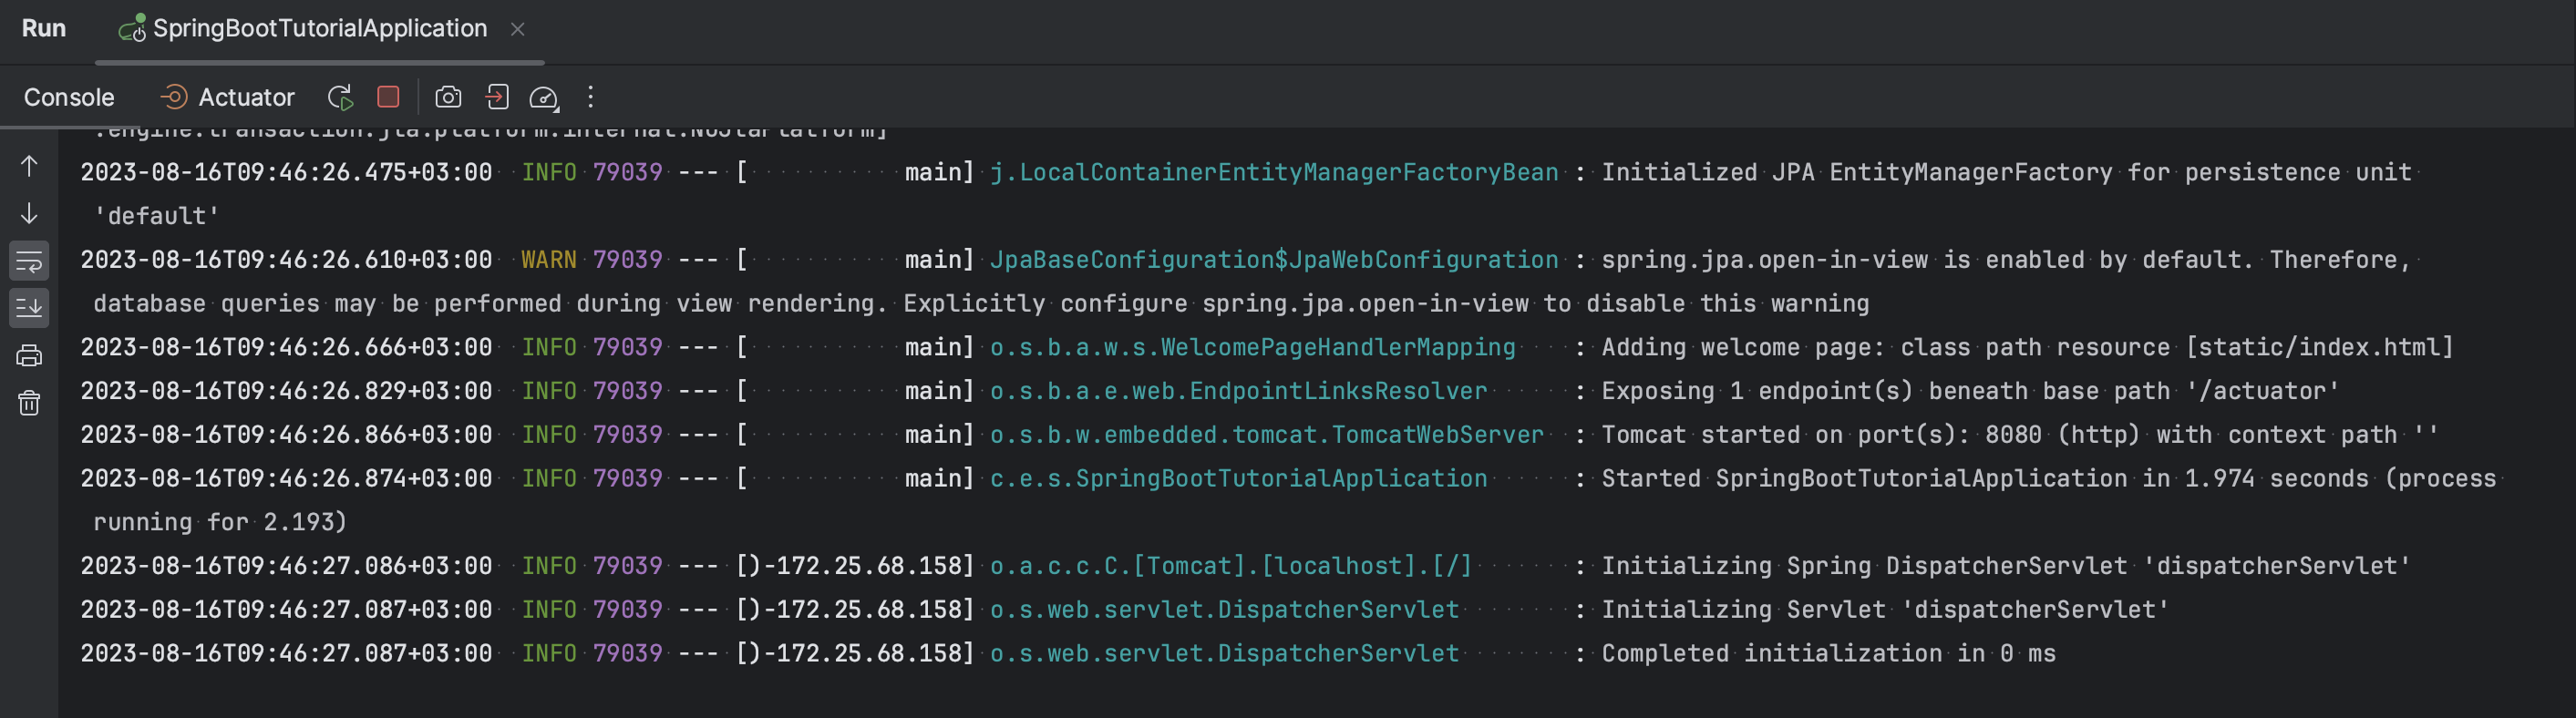
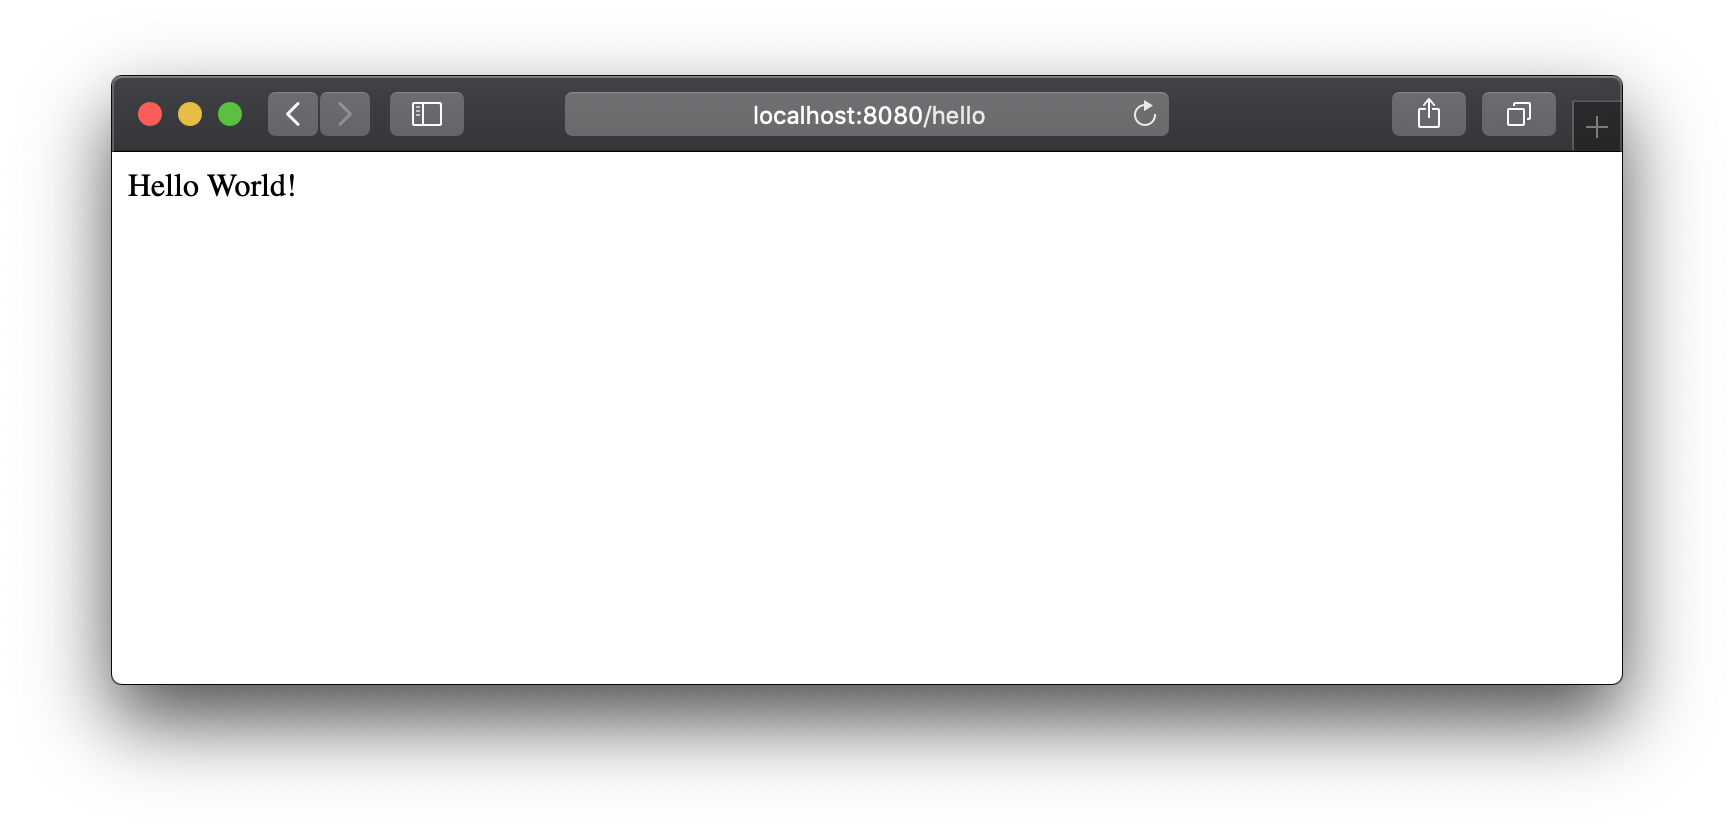
控制台选项卡显示 Spring 日志消息的输出。 默认情况下,内置的 Apache Tomcat 服务器正在监听端口 8080。 打开你的网络浏览器并访问 http://localhost:8080/hello。 如果你操作正确,你应该会看到你的应用程序以 Hello World! 回应。
这是默认的响应。你可以在你的网络请求中提供一个参数,让应用程序知道如何适当地问候你。 例如,尝试访问 http://localhost:8080/hello?myName=Human。
添加主页
创建的 Spring Boot 应用程序在 /hello 路径下有一个端点可用。 然而,如果你在 http://localhost:8080/ 中打开你的应用程序的根上下文,你会收到错误,因为没有定义根资源。 让我们添加一个静态 HTML 首页,其中包含指向你端点的链接。
- 请在
/src/main/resources/static/下创建index.html文件。 - 你可以修改默认模板或者使用以下 HTML 代码替换它:
<!DOCTYPE HTML>
<html>
<head>
    <title>您的第一个 Spring 应用程序</title>
    <meta http-equiv="Content-Type" content="text/html; charset=UTF-8"/>
</head>
<body>
<p><a href="/hello">问候全世界!</a></p>

<ifm action="/hello" method="GET" id="nameForm">
    <div>
        <label for="nameField">应用程序应该怎样称呼您?</label>
        <input name="myName" id="nameField">
        <button>问候我!</button>
    </div>
</ifm>
</body>
</html>
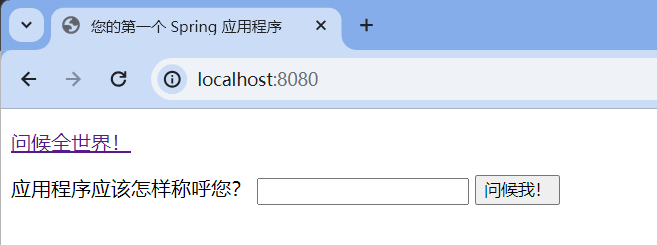
3.在运行工具窗口中,点击 "重新运行" 按钮,或按下 Shift + F10。 现在你的应用程序将会在 http://localhost:8080/ 上作为根资源提供 index.html 页面。
下一个教程
这个简单的应用程序演示了如何开始使用 Spring。 要了解 IntelliJ IDEA 如何帮助你编写代码并在运行时管理应用程序, 请参考下一个教程,该教程重点介绍更高级的 Spring 支持功能。